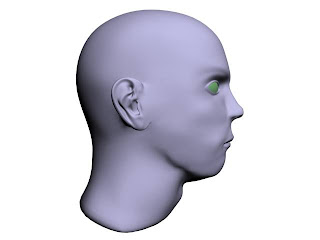
Okay. At last I started my work. Time is running and my colleagues are nearly to finish the task. So today I decided to catch up with them and I just finished modeling my face J. Because I could not download the tutorials that Jo showed us at the beginning, I went to my class blog to look at others’ work to get familiar with this new technique for me.
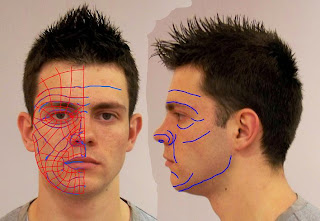
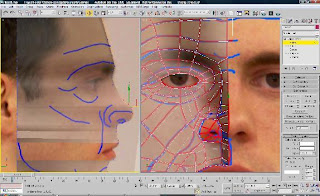
First of all I had to sketch the topography and the quads over the photography of my face in photoshop. To be honest I have never sketched topography so it was the stage I was really interested in. Soon it turned out to be more important than I previously expected. As I found out later, at the modeling stage, it is extremely important to sketch the squares. There can’t be any triangles or something like that. When the sketched topology is wrong then the modeling process is difficult. Somehow I did not approach the topology seriously… so I made next part of the task much more complicated. Of course it is still possible to fix it later but it makes modeling longer, so it is better to spend more time on drawing correct topology and quads to save time later at modeling stage. Besides the front and the side pictures must be the same size, or you are in trouble…just like me :)
But anyway here is my picture with sketched quads and topology (as I mentioned it is not fully correct, but still it is good to know what kind of mistakes should be avoided)

Well the topology and quads may not be perfect but they are still helpful.
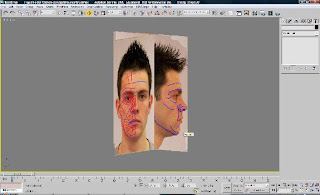
When I imported the pictures to 3ds max I noticed and that they were very pixilated. I configured settings in ‘viewport tab’ to have better resolution.

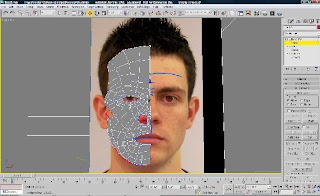
At this stage it was time to create quads by using the pictures as references. Thanks to line tool I drew all quads. After that I selected one of them and converted into ‘editable poly’. Then in ‘edit geometry’ I clicked attach to attach all quads. The next step was to select all the vertex points and press the ‘weld’ button in ‘edit vertices’. So now all the quads began to be one object.

And now probably the most boring part of modeling :)
All the vertices points had to be placed in the right place. It is necessary part of that kind of modeling and …there is no other way out.
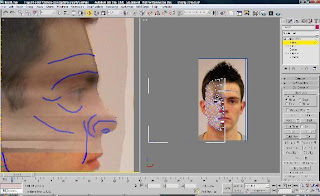
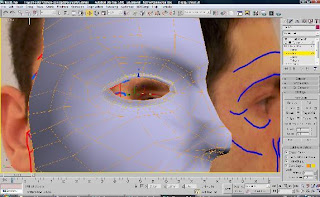
By using the pictures as a references source I placed all the vertices points. It took me quite a lot of time because I started placing them from the left side to the right…and I got simply confused. It was difficult even to place them back...So I started again :) but this time, from the right side to the left, and that was much easier but still time consuming.

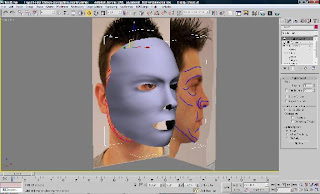
When all vertices points were in correct places I applied ‘mirror’ modifier to the object. This gave me the other half of the face and I also moved (maybe I shouldn’t but I did) some vertex points to get better results and I applied ‘turbo mesh’ modifier. To be honest I never used ‘turbo mesh’ before but ‘mesh smooth’ instead. I decided to use ‘turbo mesh’ because everyone is using this modifier and, in fact, I do not see any difference between them two. Here I noticed that the quads are not correct

From here I spent some time on the lips, the eyes, and the nose. I can say that this method was easier than box modeling. First of all I had everything under control. I did not have any unnecessary polygons which is a normal problem in modeling an object from box. Here I could create the number of polygons just as I wanted which is a great thing. I could put more details (polygons, edges etc) in specific areas like eyes.

and then applying the symmetry modifier...

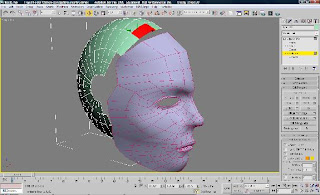
Now when the face (mask) was done it is time to model the rest of the skull. To model the skull I created the sphere, then I reduced segments and finally I placed the sphere just behind the face (mask). Then I converted the sphere into ‘editable poly’ and deleted polygons which were not useful for me (I also deleted half of the sphere so when I attach the sphere to face, 3ds max created the other half of the face and skull) (I hid the pictures as they interfered, but each time I was using them as a reference)

Now it was time to attach the skull to the face. Making the head/face from that moment was a real pleasure to do as for meJ
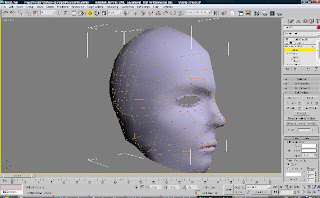
When the skull was attached to the face it was very important to create good looking polygons which can connect the skull with the face, otherwise I would get some terrible puckering or breaks in the mesh. To connect the face vertices points with the skull I simply did it with ‘weld’ button from ‘edit vertex’

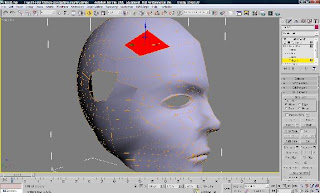
As you can see there is a hole in the face. To fix it I went to ‘polygon’ mood and from ‘edit geometry’ I clicked ‘create’. Now by selecting all vertices points around the hole I could easily create polygon.

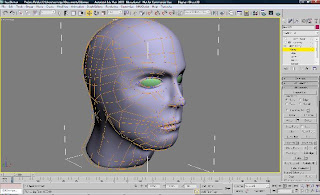
Then I put some work on my model. I modeled the neck by selecting all polygons below the skull and extruding them couple of times. I moved some edges, vertex points and so on to get better shape. All the time I was using my pictures as a reference.

Now the ear.
As I guess some of you may have problem with ears. Let me show you how I did this..
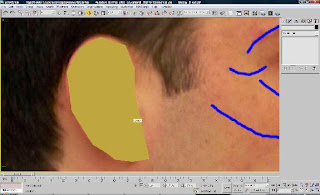
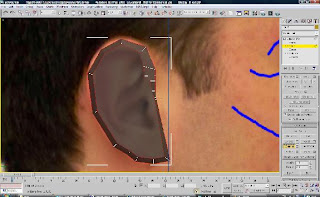
First of all I hid the head and left the side picture. Then I drew a line to create a shape of the ear and then I extruded by applying the „extrude” modifier

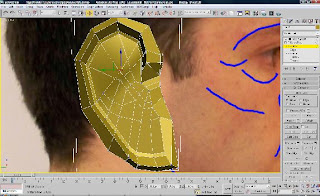
To make modeling a bit easier I turned on option see-through’. Then I selected all top edges and from ‘edit edges’ I clicked ‘chamfer’. This created more edges around on the top ear polygon.

Next I created more edges polygons and so on to have more elements (vertex points) to place. To do that I went to vertex mood and by pressing the ‘cut’ I drew polygons and edges.

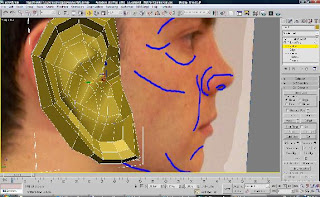
Okay. Now it was a good time to model the ear. I added more polygons to achieve better results. It was very helpful to use the front and side pictures for a reference

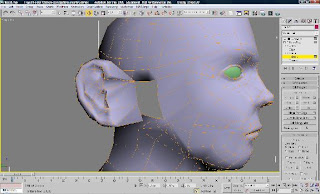
After all I attached the ear to the head, but I placed the ear in distance. I removed some polygons from the head and the ear

and in polygon mood I started creating polygons to connect the ear with the skull.
The last thing to do was selecting all vertex points of the ear and place the ear in the correct place. After that I was working a bit with a model by moving polygons, vertices points and so on to have a better result

So this would be all for now. Maybe later I will add some texture and hair to make my model more realistic. I must say that this new technique is not as bad as I thought previously. I think it is much easier to create face (mask) with this technique than with the box modeling technique. But that’s all. I can not imagine to use this method for the rest of body:) Definitely I have learnt something new. Next time I will do sketch better topology and quads for better results


